
Microsoft Teams Tutorials
For attendees
Joining a Teams Webinar
Joining a Teams Webinar Without a BCH or Microsoft Account
- Click on the Register button on the event page and fill out the registration form.
- Check the email you entered at registration. It may take a few minutes to receive the link.
- Click “Join Webinar” in the email.
- Click “Continue on this browser.” Click “Allow” on any permissions pop-ups that appear on your browser.
- Enter your name when prompted and click “Join Now”.
Joining a Teams Webinar With a BCH or Microsoft Account
- Make sure you have the Teams app downloaded. Click here for the download page.
- Log in to the Teams app. If you are on the BCH campus, you’ll be automatically logged in through Single Sign-On.
- Click on the Register button on the event page and fill out the registration form.
- Go to the Calendar tab on your Teams app. The invitation should appear in your calendar. Click the Join button on the calendar.
- If you join from the link in the email you receive, click Yes when your browser prompts you to open the Teams app.
Troubleshooting
Mac Users
Apple computers may require extra permissions to run Teams correctly. See the below document for instructions on changing your settings:
Error when joining the meeting
Try logging out of your Microsoft account, or copy the link into another browser.
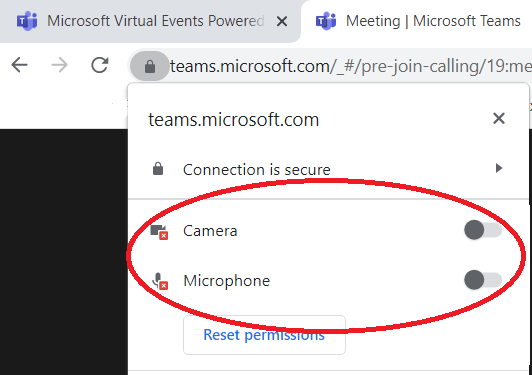
Can’t turn on camera/microphone
In a Teams Webinar, you may be restricted from turning on your camera and microphone.
If you joined through the browser, click the icon in the address bar to grant your browser permission to use the camera and microphone:
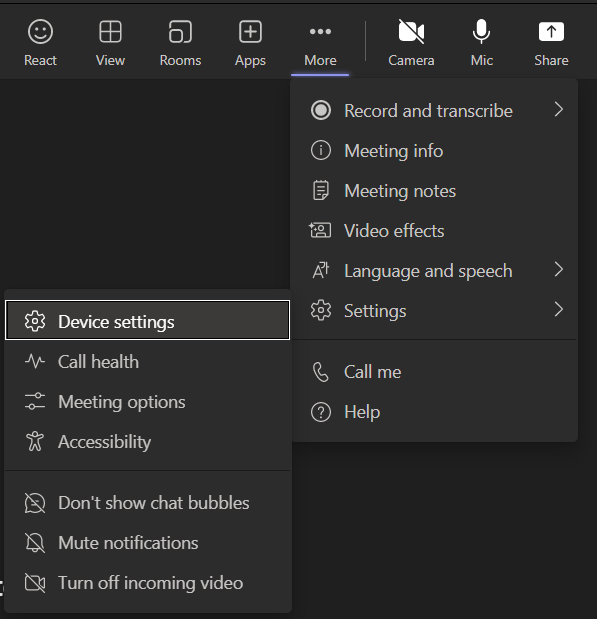
If you joined through the app, check your device settings and make sure the correct camera and microphone are selected. On the toolbar, click More, then Settings, then Device Settings.
Audio Issues: static, slowed audio, no audio
Make sure Teams is using the correct speakers. On the toolbar, click More, then Settings, then Device Settings, and select the correct device from the Speakers drop-down.
Unplug or disconnect any headphones and speakers you’re not using. Make sure any headphones and speakers you are using are fully plugged in or connected.
A slow internet connection can cause delayed, slow, or staticky audio. Move closer to your wireless router, disconnect from any VPNs, and turn off other devices on your network if possible. Ask others on your network to limit high-bandwidth internet use such as streaming video or online gaming.
For presenters
For all presenters: it is HIGHLY recommended to create a Microsoft account (if needed) and to download the Teams app. A Microsoft account is required to be invited as a presenter, and common meeting actions such as turning on your camera and microphone and sharing your screen are significantly easier with the app. If you are speaking at an event and cannot download the app, please make sure to join a technical rehearsal for your event or reach out to us to schedule a follow-up.
Adding a Virtual Background
Virtual backgrounds can only be added as you are joining a meeting. To set it up before the day of your presentation, go to the Calendar tab in the Teams App and click Meet Now at the top.
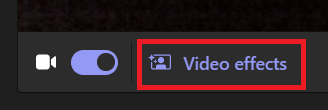
When you join a Teams meeting or webinar, you are first brought to a page to check your video and audio settings. Click the toggle to turn on your camera and click Video Effects.
Click More Video Effects at the bottom of the menu that opens.
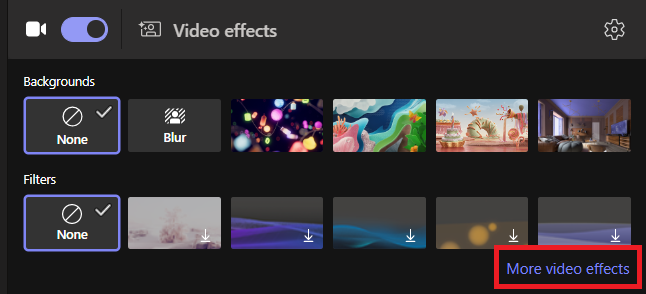
In the panel that opens, click Add New and select the image you want to upload.
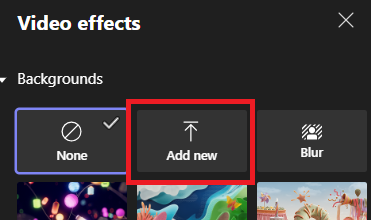
This image will be automatically selected as your background until you change it. There is no need to change the image if your background appears mirrored. This just means that your video preview is mirrored – your background will appear the correct way around for everyone on the meeting.
Sharing Your Screen
Sharing Screen with the Teams App
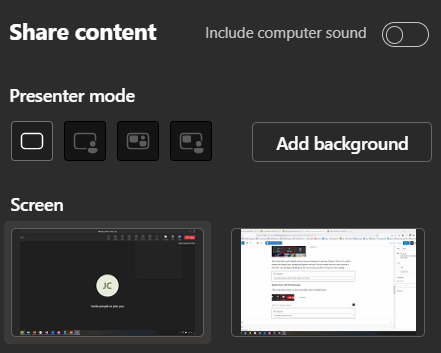
Click on the Share button on your top toolbar, next to the Mic button.

If you need to share computer sound, click the Include Computer Sound toggle.

Click the screen you would like to share and the screen share will begin. A red outline will appear around the screen being shared.
A floating widget with your camera and controls will appear. You can move this to another screen or minimize it if it’s distracting.
Once you are finished presenting, move your mouse to the top of the screen and hold it for a few seconds. A toolbar will appear. Click Stop Presenting.

